Saturday, February 16, 2013

Homemade Laundry Soap

Hi, I hope you are enjoying your weekend! I know that I am.  As you know, I have found a new interest for natural and chemical free products, as well as DIY product that are cost efficient.

So...Today I made my own laundry soap!

Like the lipbalm, I did my homework and looked at a LOT of different ways to do it. Here is how I chose to do mine:
 
I started by gathering everything I needed


Next I found something that would hold a large amount
and would make the least mess as possible! So
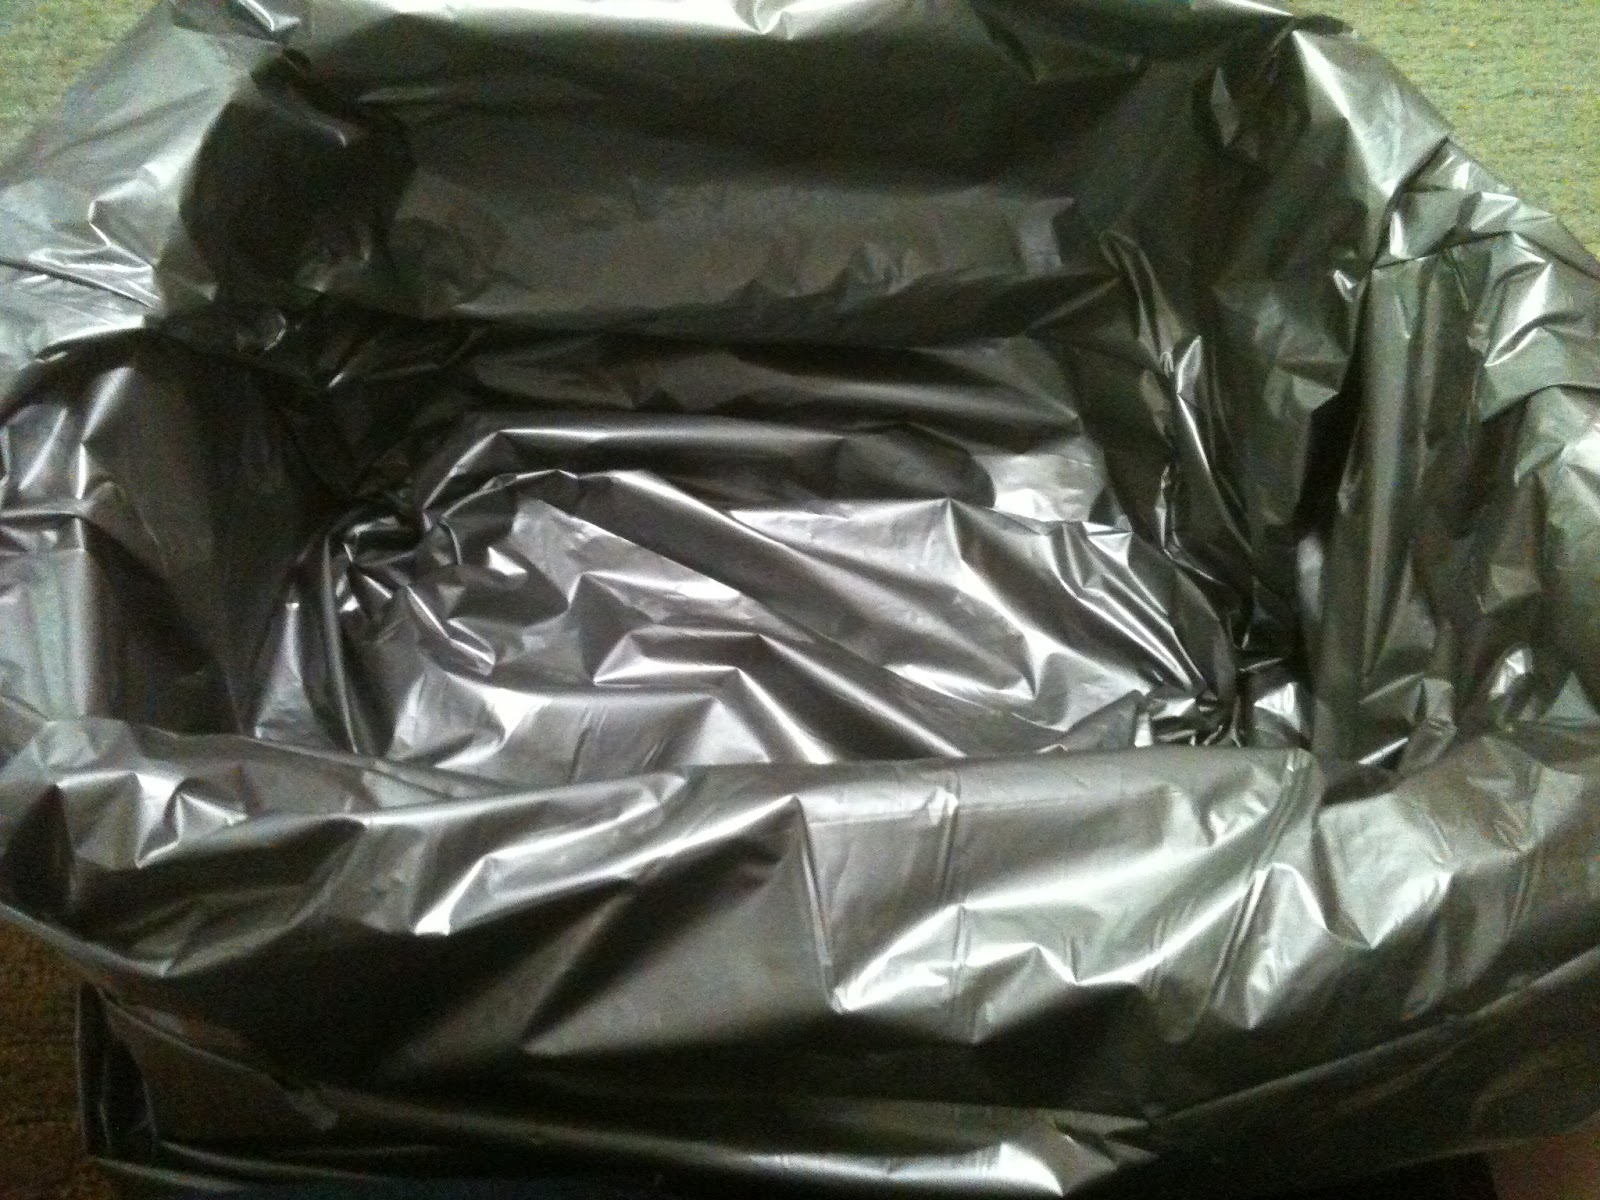
I found a cardboard box that I already had and lined it with a trashbag. 
 
Next I grated three bars of Fels Naptha.
 (Warning, this was a workout to grade all three bars lol)
 
 
Once this was grated, I added the remaining ingredients into the box.
Borax, Baking Soda, Super Baking Soda, Oxy clean
 
Next, I used a metal spoon and stired everything together.
Do this slowly or you will be breathing this stuff!
(Yes I had it flying around in the air lol)
 
Finished!
Now I am resourceful so I chose to use a popcorn tin that I had saved from Christmas, SO glad i chose to save this! I am the only one who sees inside my laundry room, so appearance was not top priority here. You may choose to use a glass jar, plastic container, etc.
Oh, and I will use the spoon from the oxy clean :)
 
Ok so lets recap:
 
*you will need 3 bars of Fels Naptha, 1 box of Borax, 1 large box of Arm and Hammer Baking Soda, 1 Large box of Arm and Hammer Super Laundry Baking Soda, and one small container of Oxy Clean
 
*Using the trashbag inside of the box made for VERY easy clean up!
 
*You do not have to use the Oxy Clean, I chose to because my husband always has oil stains on his clothing.
 
*From the research I have been doing, this is safe for ALL washing machines. I have also read that this may cause a build up like any cleaner. To clean your washer, simply run your washer empty with hot water and one cup of vinegar.
 
*You will only use 2 tbs of this per load!!!  This will last you approx. a year!
 
*And the best part?? This only cost $15 to make!!
 
I look forward to updating you all on how this is working for our use! Thank you for taking the time to read this. As always, please feel free to share this, however, please provide a link to my blog when you do.
 
Have a Great Day!
 
-Beth


Friday, February 15, 2013

Natural Lip Balm

Ok so I LOVE lip balm/chapstick whichever term you prefer. I mean who doesnt like using this stuff right?? Ok so I have mentioned earlier that I have been looking into chemical free and natural products. DO you know what is in some of these things? No? Well here is a list I found off of a website of a product I am sure that many of you enjoy using....

 ozokerite, squalane, ethylhexyl palmitate, petrolatum, myristyl myristate, myristyl lactate, flavor, cetyl alcohol, myristyl laurate, myristyl alcohol, BHT, menthol, tocopheryl acetate [vitamin E]

Yep...If I cant pronounce these things, I am not real sure that I want them on my face, much less near my mouth.

Anywho, I started looking around online to see what products you would use to make your own all natural lip balm and I found a LOT of different variations of these things. SO...I decided to just combine things that I thought sounded good and went from there. This is what I used:

Beeswax
Shea Butter
Almond Oil
Peppermint Oil

So thats it! Here is what I did:

I gathered all of my ingredients together

 
Here is a closer look at the products
 
 
Next I grated my Beeswax, approx 3tbs rounded over. The brick of beeswax was $15, as you can see in the pic, but after grating only 3 tbs, there was a tiny nick in the corner lol  This thing is going to last a LONG time!
 
Now you have to melt it. I do not have a double broiler, which is what most people would use for this. So I used a glass pie plate and sat it over a pan of boiling water. This stuff melts fast!
I used a small wisk to stir this. Now we add the shea butter. I used approx 2 tbs.
This melted very quickly as well, and it too turned clear.
Next I added the almond oil (4 tbs)  and pepperment oil (1/8 tsp) then removed it from the heat. This is difficult to see, but when I added the oil it began to harden the wax, so I used the wisk and continued to stir as I removed from heat.
 
The final step is to pour or ladel the lipbalm into small containers. You can purchase the plastic tubes, like the ones you buy your chapstick in currently. I on the other hand found these cute pink containers and could not pass them up!
This was what I had once I spooned the wax into the containers. Note that I only purchased four because this was something I was trying for the first time. It could have easily made six.
I let mine sit overnight and this is what I had:
 
 
Lets break this down:
I used wax paper to keep my counter clean.
I used a metal table spoon, a teaspoon, and a wisk
I used a glass pie plate but you can use a double broiler if u have one
I used 3 tbs beeswax, 2 tbs shea butter, 4 tbs almond oil, 1/8 peppermint oil
*hint*Use a napkin while still hot to clean out pan, water makes it worse
 
BONUS!!!  My kitchen smelled amazing for hours!!
 
Well guys, thanks for reading! Please feel free to leave any questions or comments. I would also love to hear if you make this and what your experience was :)   
 
 
**I would also like to add that if you use this in your blog or post on any social media site, please be respectful and share my link :)  


Day 1 :)

So, this is me.....

I wanted to start this blog, well, to share! I love to cook and to craft. I am always being asked for a recipe or to show someone how to do something...Well here it is! :)  I have also recently began to gain an interest in natural and chemical free cleaning supplies and hygine products.

Well here we go!